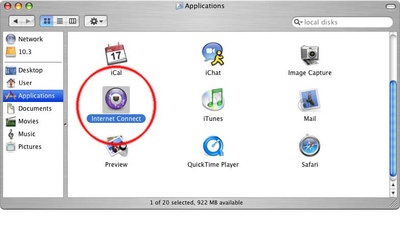
Open Internet Connect
First, open the ‘Applications’ folder by going to the Finder and choosing “New Finder Window” from the “File” menu. Click on the ”Applications” icon, then scroll down until you see the “Internet Connect” icon.
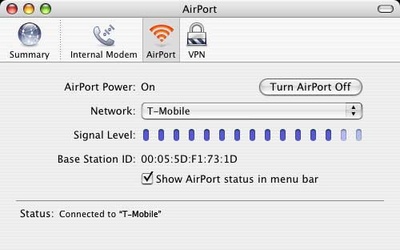
Double–click on the “Internet Connect” icon. You should see a window like the one below. Your ‘Network’ and ‘Base Station ID’ will probably be different.
Create a New VPN Connection
Next, go to the ‘File’ menu and select “New VPN Connection Window.”

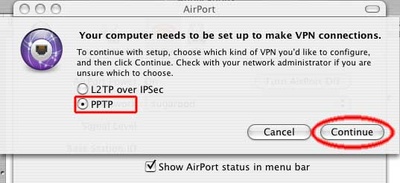
You should see a the following screen. Click ‘PPTP,’ then click ‘Continue.’
Set the Connection Information
The next screen will look like this:
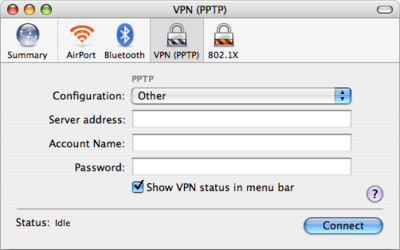
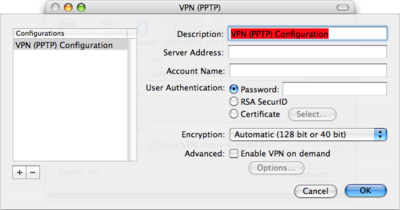
Click on the ‘Other’ and select ’Edit Configurations…’
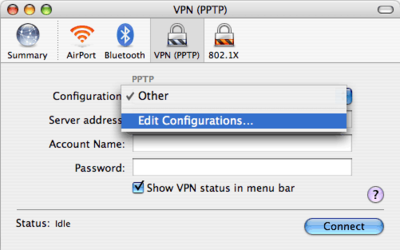
You should see the following screen, which is where you create new VPN configurations. This information your System Administrator will be able to provide for you. After this is filled out, click the ’OK’ button. Your configuration is saved, and you’re ready to connect!
