|
- Software - Setting up Email POP access to TkFast Hosted Email in Outlook ... |
(posted by Katie B on 2010-04-06 12:43:51)
|
| To Set Up Your E-mail Account in Microsoft Outlook: | |
Solution:
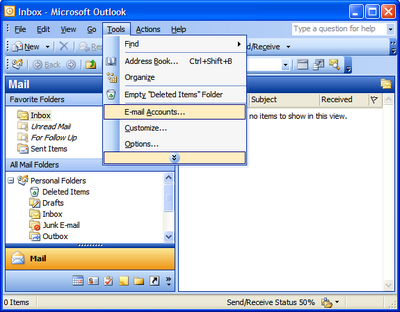
Step 1: Open Microsoft Outlook. From the E-mail Accounts menu, select Tools.
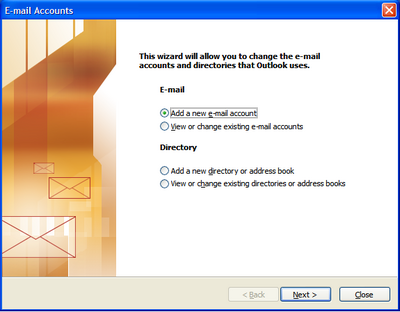
Step 2: On the E-mail Accounts wizard, select Add a new e-mail account, and then click Next.
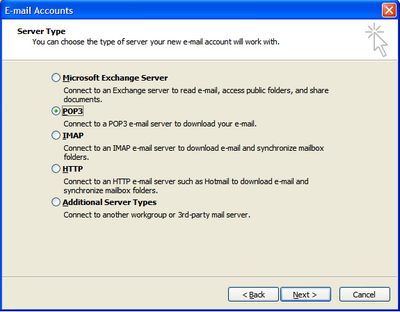
Step 3: For your server type, select POP3, and then click Next.
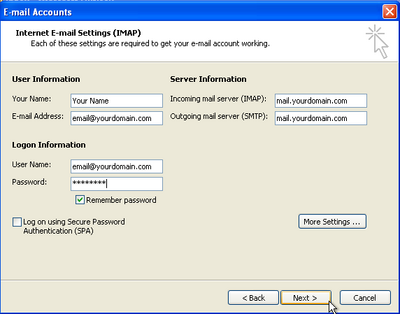
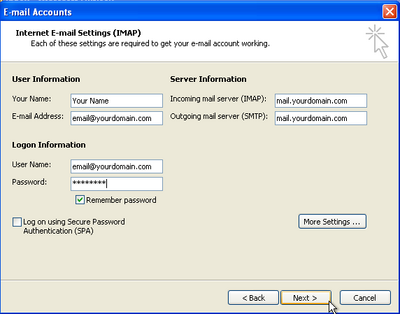
Step 4: On the Internet E-mail Settings (POP3) window, enter your information as follows: Click More Settings.
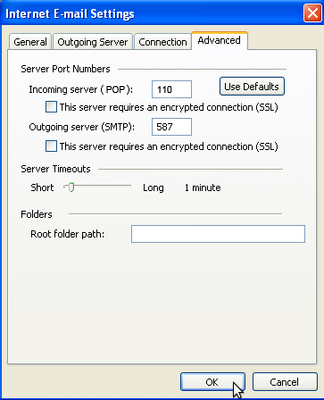
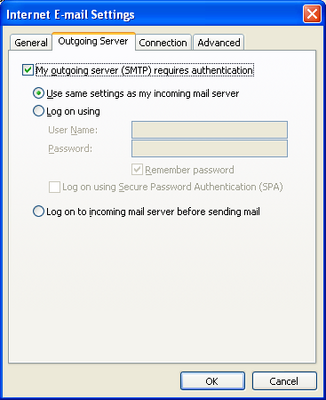 Step 6: Go to the Advanced tab, and change the Outgoing server (SMTP) port to 587. Click OK.
Step 7: Click Next.
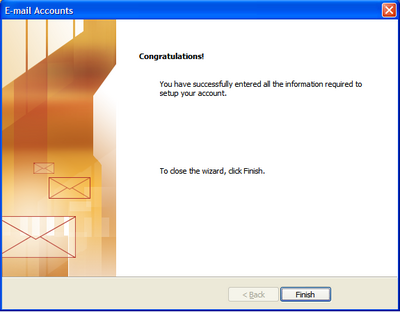
Step 8: Click Finish.
| |
|
Comments: |
